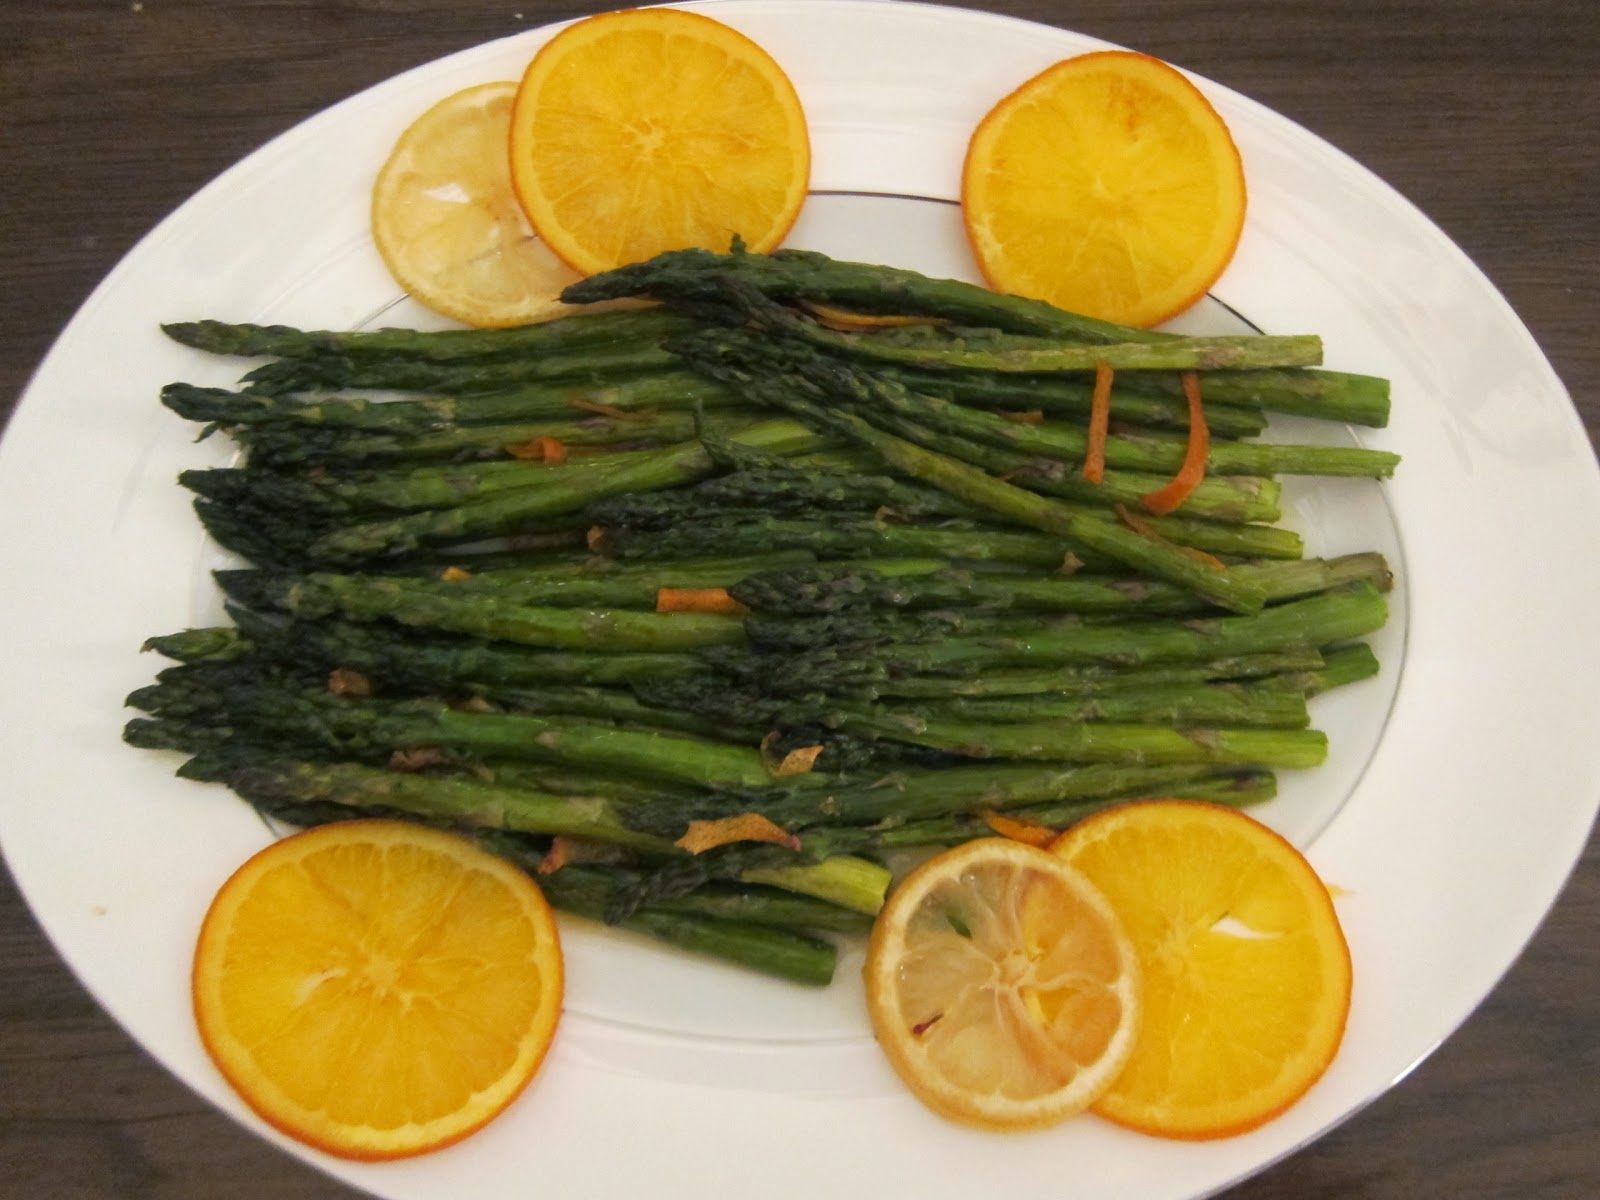
Citrus Roasted Asparagus
 Ingredients:
2 seedless oranges
2 lemons
2 lbs asparagus spears
2 garlic cloves, chopped
extra virgin olive oil
salt and pepper to flavor
Directions:
Preheat oven to 400° F. From one orange and one lemon, peel thin slices (about 1/8" x 2") strips from peel. Being careful to avoid the white bitter parts. Then, with the same orange and lemon, squeeze juice from fruit and set aside 2 tbsp each in bowl.
With the other orange and lemon, slice (don't go too thin or they will fall apart when baked). Lay out on pan with parchment paper and drizzle with olive oil. Set aside.
Wash asparagus and trim off woody ends. Place spears on baking dish. Sprinkle with garlic and citrus strips, then drizzle with olive oil. Season with salt and pepper.
Roast asparagus and citrus slices for 12-15 minutes, turning once half way through, until asparagus is tender and citrus slices begin to brown.


While asparagus is baking, make vinaigrette. In small dish, whisk together juice from orange and lemon with 2 tbsp olive oil. After asparagus is done baking drizzle with vinaigrette and arrange with roasted citrus slices. Serve warm. Makes about 8 servings.
Adapted from Better Homes and Garden